Once your Axis camera is connected to the network, you need to obtain its IP address. The camera may not have been configured to the same network IP address range. It may therefore be difficult to find this address.
The first step is to download and run the AXIS IP utility from the Axis website: https://www.axis.com/support/downloads/axis-ip-utility
This executable is not an installer. You might want to keep it somewhere for later use.
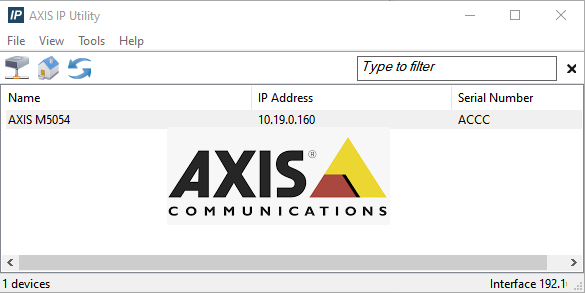
Once executed, you get the following screen:
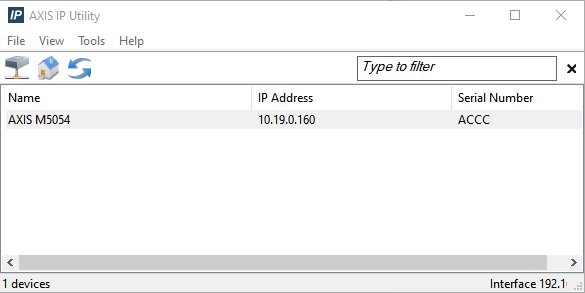
As you can see, in my case I only have one Axis camera on my network. When you have multiple cameras, you get something like this:
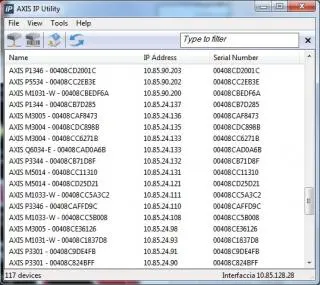
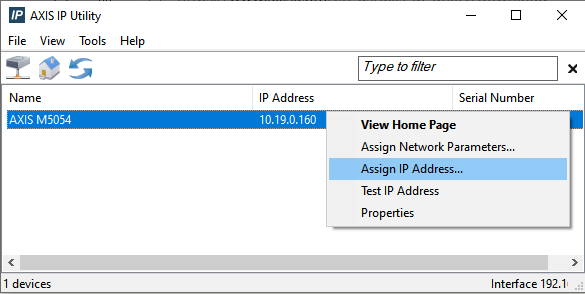
Now select your camera from the list. Right-click on it and select Assign IP Address:
You will then get to this screen:
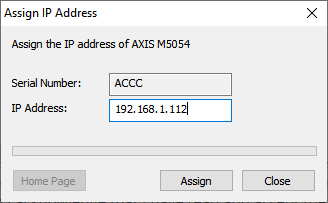
Type the new IP address you want to assign to the camera and click Assign.
Now here’s an important step : After clicking Assign, you’ll get a message prompt with an OK button. As soon as you click Ok , you will need to unplug and reconnect the camera’s power supply. Without it, changing the IP address will not work.
This process may take some time. The camera will reboot and the address change will be applied. Once complete, you should receive a success message.
You should now be able to access the camera using your web browser.
Note: The default username/password for Axis cameras is usually root/root, root/pass, or only root.

